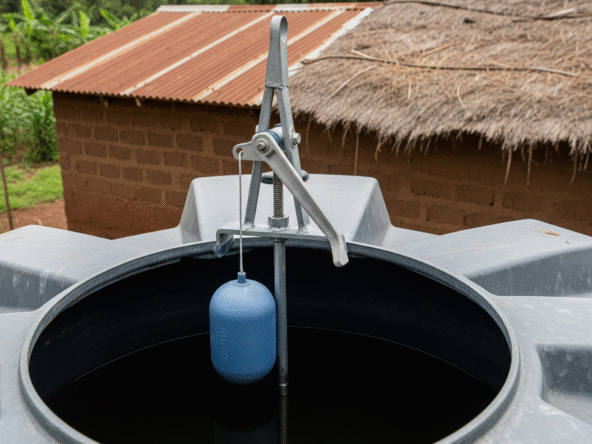
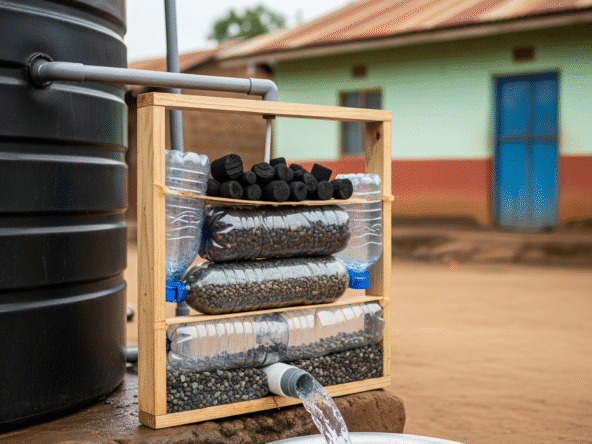
In many Kenyan homes and rural plots, elevating water storage tanks is crucial for improving water pressure, supporting gravity-fed plumbing, and avoiding the need for costly pumps. Whether you’re installing a 1000 litre tank, 2000L, or 5000 litre water tank, a strong DIY stand can make a big difference in water efficiency especially for bathrooms, outdoor kitchens, and irrigation setups.
This guide walks you through how to build your own tank stand in Kenya, including recommended materials, elevation ideas, and safety tips for a long-lasting setup.
Why Elevate Your Water Tank?
A raised tank helps deliver consistent water flow throughout your compound. Elevation is especially effective when used with plastic water storage tanks, steel tanks, or even IBC tanks in Kenyan homes.
Benefits of an elevated stand include:
- Improved pressure without relying on pumps
- Gravity-fed flow to multiple taps and appliances
- Safer, cleaner storage (elevated tanks are less exposed to ground moisture and dirt)
- Easy tank maintenance and inspection
Looking for quality tanks? See Top Water Tank Brands in Kenya for reliable options like Roto, Kentank, and Jojo.
How Tall Should the Tank Stand Be?
Your tank height depends on your plumbing setup and water needs:
| Tank Height | Ideal Use Case |
|---|---|
| 1.5m – 2m | Small homes, kitchen use |
| 2.5m – 3m | Multi-room houses, bathrooms included |
| 3m and above | Rentals, irrigation, shared compounds |
Choose a level, compacted ground away from erosion-prone zones. For best results, pair this with a site drainage strategy , see Construction Site Drainage Planning for proper surface runoff management.
Materials for Building a Tank Stand in Kenya
Option A: Timber-Framed Stand (Best for 500–1000L Tanks)
- Treated timber poles or hardwood offcuts
- Galvanized metal brackets or bolts
- Anti-slip wooden platform or metal sheet
- Raised stone footings for rot prevention
Ideal for temporary setups or low-cost installations.
Option B: Steel-Framed Stand (Best for 2000–5000L Tanks)
- 2″ or 3″ square tube steel
- Welded or bolted cross-beams
- Mesh, checker plate, or steel sheet top
Paint with anti-rust coating. This is suitable for permanent compounds, especially in fast-growing zones like Ruai, Joska, or Kangundo Road.
Option C: Concrete Pillar Stand (Long-Term Solution)
- Reinforced concrete columns (with rebar mesh)
- Metal base frame
- Cast slab or concrete top
Best for urban homes, rentals, or commercial installations. Offers unmatched durability.
DIY: How to Build a Basic Steel Tank Stand (Step-by-Step)
- Level the ground and mark your corner post points.
- Dig four 1-foot-deep holes for steel post foundations.
- Install steel vertical posts, casting them in concrete.
- Weld cross-supports at the mid and top levels.
- Weld a mesh platform or bolt on checker plate.
- Let concrete cure for 48 hours before placing the tank.
Need to scale your water system? See Multi-Tank Linking Systems for how to expand tank capacity affordably.
Structural and Safety Tips
- Add cross-bracing between legs to prevent wobble
- Use rubber pads or sheet metal under tanks to prevent base damage
- For taller stands (above 2.5m), include diagonal supports
- Avoid using untreated timber in humid areas
- Build on well-compacted and drained soil
If your site has problematic soil like black cotton, pair your tank with a proper drainage setup using Soak Pit Design for Residential Plots.
Whether you’re installing a 5000 litre water tank in a peri-urban estate or a 1000L poly tank in a village homestead, an elevated stand enhances your water system’s efficiency and longevity. A well-constructed stand timber, steel, or concrete saves costs on pressure pumps while providing stable water flow.
For complete water system performance, combine your tank stand with:


